Location when receiving: where the goods go
Summary
Each receipt line carries one location: the place in the warehouse where the goods sit once confirmed. It is required on every line with a received quantity, because stock is kept by product, location and lot. The location is chosen by hand on each line, or once for all with the default location, and it can be corrected up to the last moment of review.
Before you start
- Inventory module enabled: without it the location is neither required nor used.
- Active locations set up in the warehouse (Inventory › Locations). See Locations and zones.
- Permission: “Capture Receipts” to set it during capture; “Confirm Receipts” to change it on a receipt that is already confirmed.
Assigning the location step by step
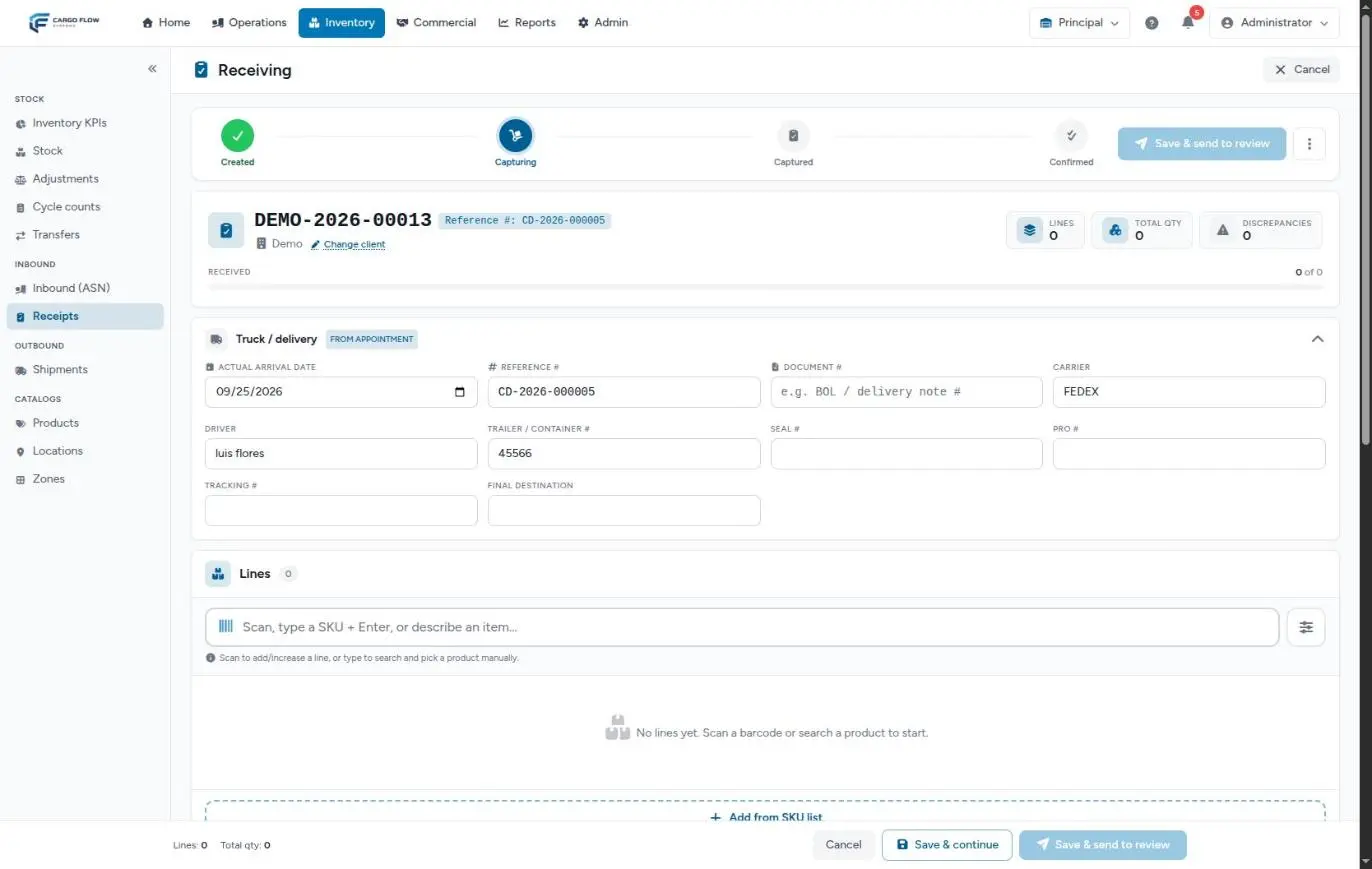
- Open the receipt’s capture.
- For all lines — click the settings button (sliders) next to the search box and type the code in Default location (all lines), for example
REC-01. It applies to every current line (replacing whatever it had) and to lines you add afterwards. - For one line — click its Location button, type part of the code and pick from the list with a click or the arrows and Enter. The button shows the chosen code and turns green.
- Save — with Save & continue or Save & send to review.
Which locations are accepted
- Only active locations of the receipt’s warehouse. Inactive ones are not listed.
- The list shows up to 50 matches; type more of the code to narrow it down.
- The system does not check capacity, zone or whether the location “belongs” to a client: any active location is valid.
- You can save the capture without a location; it is only required on confirmation.
One product in several locations
A line goes to a single location. If the same product is put away in two places (for example 30 cases on a rack and 10 on the floor), add a second line of the same product with Add from SKU list: that button always creates a separate line even if the SKU is already on the receipt. The scanner, on the other hand, always adds to the product’s first line.
With an advance ship notice, the expected quantity stays on the original line; the second line starts with expected 0 and is not flagged as over.
Does the system suggest a location?
No. The capture screen does not propose a location: the operator chooses it. If your operation uses a receiving area, set it as the default location and put away later with transfers.
What happens on confirmation
- Stock — each line’s quantity, converted to the base unit, is added at its location (and lot). If there was already stock of that product at that location, it adds to it.
- Movement — one inbound movement per line is recorded, with the location, the receipt as its source and the actual arrival date. You can see it in Stock history.
- Aging — the first entry at that location marks when that stock starts aging; a later entry does not move it.
- Damaged — set aside at the line’s own location.
- Portal — the customer sees their stock by location in the portal.
Putting away after receiving
- Confirm the receipt with the receiving location.
- Move the goods to their final place with a transfer in Inventory › Transfers (transfer permission). See Transfers.
- The movement is recorded in the history; the receipt does not change.
For the full journey of the goods, see The life of stock.
Example
40 cases arrive for Southern Logistics. Luis Pérez sets REC-01 as the default location, captures and sends. Ana López confirms: REC-01 shows 40 cases. In the afternoon, Luis transfers 30 cases to A-05-02 and 10 to A-05-03. The history shows the receipt’s inbound movement and the two transfers; the customer sees the stock in the final locations.
Messages you may see
| Message | What to do |
|---|---|
| “Assign a location to … before confirming: the goods cannot be placed in stock without one. Use “Edit capture” to set it.” | A line with quantity has no location. Click Edit capture, set it and send again. |
| “Each received line must be assigned a location.” | Banner on review: some lines have no location. |
| “The selected location does not belong to this warehouse.” | Pick a location from the list, do not type it. |
| “Line … needs a location to place its stock.” | When editing a confirmed receipt, every line with quantity still needs a location. |
Best practices
- Define one receiving location per dock or area and use it as the default location.
- Put away the same day and with transfers, so the history explains where every case is.
- If a location is no longer used, deactivate it so nobody picks it when receiving.
- Type the full code when there are many similar locations.
Troubleshooting
The location I want does not show up.
- It is inactive, belongs to another warehouse or there are more than 50 matches. Type the full code or check Inventory › Locations.
I set the default location and every line changed.
- The default location replaces it on every line. Fix by hand the ones that go elsewhere.
I confirmed in the wrong location.
- If the goods have not been moved or reserved, use Edit on the confirmed receipt and change the location: it is posted as an adjustment. If they were already moved, use a transfer.
Frequently asked questions
What if the warehouse does not use inventory?
The location is not required and no stock is created. The receipt remains a record of what arrived.
Can I change the location of a confirmed receipt?
Yes, with Edit and a reason: the system subtracts from the old location and adds to the new one as adjustments. It is blocked if those goods were already reserved, shipped or moved. See Cancelling or correcting a receipt.
Do damaged goods go to another location?
No: they are set aside as damaged at the line’s location. If you physically move them to a damage area, record it with a transfer or a status change. See Changing inventory status.
Need help?
If something did not work as expected, our support team can help you.
Was this article helpful?