The pick ticket
Overview
Cargoflow has no separate pick order: the shipment’s reservation already says which location each item comes from. The pick ticket is that same reservation on paper, for workers who prefer walking the aisles with a sheet or to keep signed evidence of who picked and loaded.
Before you start
- The warehouse has the documents module and your user the Generate Documents permission (default: Admin, Supervisor and Worker).
- The shipment is at least Confirmed. For the table to have anything, it must be Reserved: without a reservation it prints empty.
- If the customer’s record restricts their documents, the pick ticket must be among the allowed ones.
Print it
- Open the shipment in Inventory › Shipments.
- In the Documents bar, click Print Documents.
- Tick Print Pick Ticket (the first option). You can also tick the packing list and the BOL.
- Click Print. Each document opens in its own tab, ready to print. The arrow icon next to each option opens just that one.
If the warehouse had no pick ticket template yet, the system creates the built-in one at that moment.
What it contains
The built-in template has:
- Header: warehouse name, shipment number with barcode and the ship-out date (a dash until it ships).
- Released by / Release to: the person who printed it and the customer.
- Transport: carrier, trailer, seal and final destination.
- Pick table: one row per reservation, i.e. per location and lot combination: reserved quantity, SKU, description, lot, location, the date that lot arrived in the warehouse and UOM. With totals at the bottom.
- A loading checklist to tick by hand: dock assigned, trailer number, quantity, location, damage before loading, load restraints and special instructions.
- Comments, a Signature space and the generation date.
The shipment notes can also print on it if the template includes them.
It always reflects the current reservation
Unlike the BOL and packing list, which are reused once generated, the pick ticket is regenerated every time you print it and the previous copy is discarded. So it always shows the locations and lots reserved at that moment. If you edited the shipment or it was re-reserved, just print it again.
Adapt the template
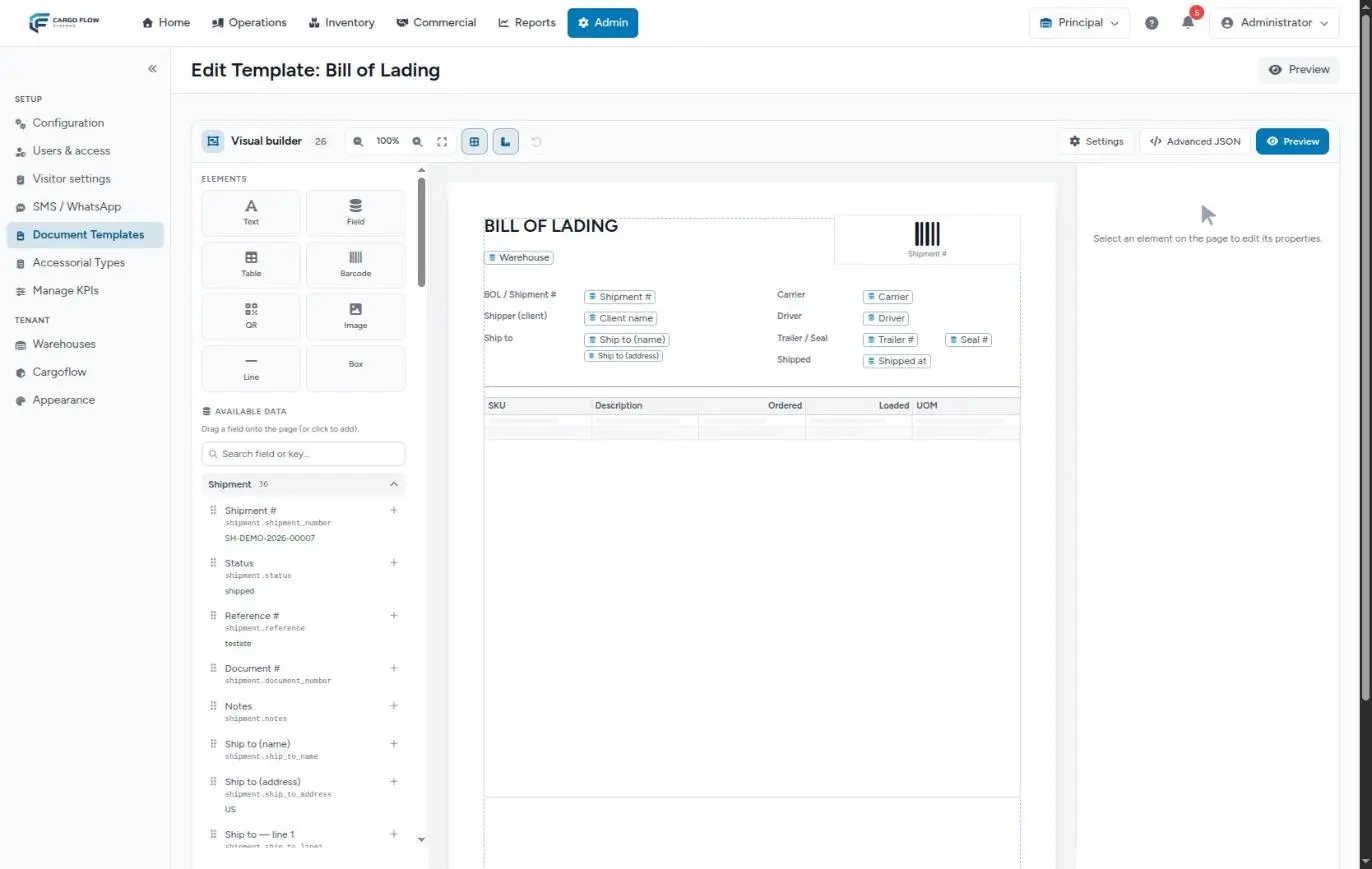
In Admin › Document Templates you can create or edit the pick ticket template: rename texts, move fields, add your logo, drop the checklist or add columns such as line weight or product dimensions. You can have a general warehouse template and a separate one for a customer. See Design a template.
Example
At 7:00 Luis Pérez prints the pick tickets for the five shipments leaving that morning and leaves them at the dock. Carlos Ruiz takes the one for SH-NORTH-2026-00042, sees he has to pull 25 from A-01-02 (lot L-0325) and 15 from A-03-01, loads, ticks the checklist by hand, signs and records the loading on his console. The signed ticket is scanned and attached to the shipment in the documents panel.
Troubleshooting
The table prints empty.
- The shipment has no reservation. Allocate it and print again.
It doesn’t appear in the print menu.
- The customer’s allowed documents exclude it, the warehouse lacks the documents module, or the shipment is Draft or Cancelled.
The location on the ticket doesn’t match the loading record.
- It was printed before an edit or a new reservation. Print it again: it always comes out current.
FAQ
Do I have to print it?
No. The worker sees the same locations and quantities in the Loading record panel of their console. The ticket is for people who work on paper or need a signature.
Is the quantity on the ticket what will ship?
It is what is reserved. What actually ships is decided by the worker’s loading record. See The loading record and shortages.
Need help?
If something did not work as expected, our support team can help you.
Was this article helpful?